Saturday, September 10, 2011
Skipping stiches and 'what on earth?' instructions.
Ok so back to more on Butterick 6747 . When I picked up this dress this week and began to sew this happened
Looks like its time for a little machine maintance.Empty bobbin fluff, check tension, check stutch length/width etc. A few test pieces later
The unpicked stiches can clearly be seen but next to it looking good.
I think a service may be in order soon.
And then this is where the real problems started. And I felt like this
I could not at all understand the inerfacing for the colar and front, at all. So I bloged help, and the lovely ShelleyJ over at New Vintage Lady sent me a link which descrided what I had to do way better than my instructions did. Thank you ShellyJ.
Basicly it was the same as the facings I did in my Loud Shirts, but the technique is very diferent. Once I had the hang of it the dress bagan to take shape
Although with that colar as it is I could audition for the next Flash Gordon movie
Any way back to reality. I am still not sure if I did the interfacing construction 'right' The instruction asked me to 'lap the interfacing, so I did this
??????.
And when I sewed the interling to the facing it all went wonky. But hey thats inside it did cause me minor irritation becasue I really want to do things right, I am not a perfectionist by any means, I just want to do well.
Before I go today
Looks like its time for a little machine maintance.Empty bobbin fluff, check tension, check stutch length/width etc. A few test pieces later
The unpicked stiches can clearly be seen but next to it looking good.
I also had problems with my overcasting so had to revert to zigzaging the edges.
I think a service may be in order soon.
And then this is where the real problems started. And I felt like this
I could not at all understand the inerfacing for the colar and front, at all. So I bloged help, and the lovely ShelleyJ over at New Vintage Lady sent me a link which descrided what I had to do way better than my instructions did. Thank you ShellyJ.
Basicly it was the same as the facings I did in my Loud Shirts, but the technique is very diferent. Once I had the hang of it the dress bagan to take shape
Any way back to reality. I am still not sure if I did the interfacing construction 'right' The instruction asked me to 'lap the interfacing, so I did this
??????.
And when I sewed the interling to the facing it all went wonky. But hey thats inside it did cause me minor irritation becasue I really want to do things right, I am not a perfectionist by any means, I just want to do well.
Before I go today
SewVala.
Wednesday, September 7, 2011
Decisions on Plain Pattern Project.
Well after yesterdays non starter on this sew-along. I used my time to play about with the settings on my blog. I hope you like the changes. To me it feels fresher and a bit brighter, just what was needed on such a gloomy day. It really lifted my mood and helped to get me ready to start the project again.
I went through my patterns looking for something plain pattern. I have chosen

I went through my patterns looking for something plain pattern. I have chosen
Butterick 6747 from 1953
I have chosen view B. My fabric is similar to the floral on the cover so this will be covering part three.
the dress is plain only six pieces altogether (it would be 8 if making view A, for the pockets).
And I have never made a dress before.
The pattern pieces.
This is an orginal pattern from 1953 and the condiction of it fantasic, just take a look at the instruction sheet.
Now ok, the image shows to shorten / lengthen at the hem. Look closely at the lenght of the finished dress in the pictures. Now look at the pattern next to me,
I have had to shorten this by 8 inches. WOW. That feels like alot.
Am I surprised, not really. Thats why I wanted to learn how to make clothes.
Anyway I digress,
Pattern pieces cut out.
And here it is pinned to Betsy to get an idea of the lengh and fit.
Today I hope to finish this dress, apart from the 3 day hanging, before finishing the hem.
I have heard this is very important , but I am not sure why,
Any ideas...?
SewVala.
Tuesday, September 6, 2011
Progress on Plain Pattern Project.
I am taking part in the plain pattern project over at new vintage lady. My choice was
Vogue 8146. I have previous made the jacket and never got around to making the dress because I decided the fabric I had chosen was just too boring. However I had already cut out the pattern and dress before I came to feel this dress is DULL.
So I was rather pleased when NVL hosted this sew-along, it would give me reason to finish it and then make it twice more with more interesting fabric and details.
However this was not to be. Yesterday I made the facings and started on the front darts, all was going well even though I realised that since cutting the dress out several months ago I have put on quite a bit of weight. This didn't matter as I knew I wasn't going to be wearing this dress anyway.
And this moring I did the back darts. And the sewed one part of the back to the front and was pinning on the other half back when I suddenly realised my mistake
So I ended up with two left half backs. This happened because the fabric has no 'wrong side' and I wasn't paying attention to this when I drew out the darts.
Unfortunally due to the weave of the fabric I am unable to unpick the darts and to be honest I can't really be bothered.
So I think is more Earl Grey, while browsing my patterns and start again. With an all new plain patttern project.
Right then lets put the kettle on..
p.s I know the silly little pictures are not usually my style. But today I just kinda needed them. And I quite liked it, hope you did to.
Sew Vala.
Vogue 8146. I have previous made the jacket and never got around to making the dress because I decided the fabric I had chosen was just too boring. However I had already cut out the pattern and dress before I came to feel this dress is DULL.
So I was rather pleased when NVL hosted this sew-along, it would give me reason to finish it and then make it twice more with more interesting fabric and details.
However this was not to be. Yesterday I made the facings and started on the front darts, all was going well even though I realised that since cutting the dress out several months ago I have put on quite a bit of weight. This didn't matter as I knew I wasn't going to be wearing this dress anyway.
And this moring I did the back darts. And the sewed one part of the back to the front and was pinning on the other half back when I suddenly realised my mistake
I had sewn the other half back on to the wrong side of the fabric, So I ended up with two left half backs. This happened because the fabric has no 'wrong side' and I wasn't paying attention to this when I drew out the darts.
Unfortunally due to the weave of the fabric I am unable to unpick the darts and to be honest I can't really be bothered.
So I think is more Earl Grey, while browsing my patterns and start again. With an all new plain patttern project.
Right then lets put the kettle on..
p.s I know the silly little pictures are not usually my style. But today I just kinda needed them. And I quite liked it, hope you did to.
Sew Vala.
Sunday, September 4, 2011
It all starts with underwear...
Finally today I was able to start one of the blogger projects I have been aiming to do. After much procrastination and lots of tea I decided upon the underskirt for the walkaway dress. As I wanted something that I could complete in a day. I followed Edelweiss blog instructions on how to make the underskirt which can be found here.
I was finding it hard to find crinoline so in the end I chose to go with netting in a soft baby pink colour. My dress is mauve/purple so I figured this would complement nicely.
I won't go through all the instruction techniques individually but I will show you my construction pics.
Lots and lots of netting.What I didnt realise was the netting I bought was 44" wide whereas the pattern asked for 54". However luckly this fits just right, any bigger would have been way too much.
The top layer and the main body of the skirt attached.
Gathering the netting using embrodairy floss. It pulled back out really easy.
The lower part waiting to be stiched.
Front view of the finished piece.
And whats even better about this design is, it can also be used as a full underskirt. How cool is that.
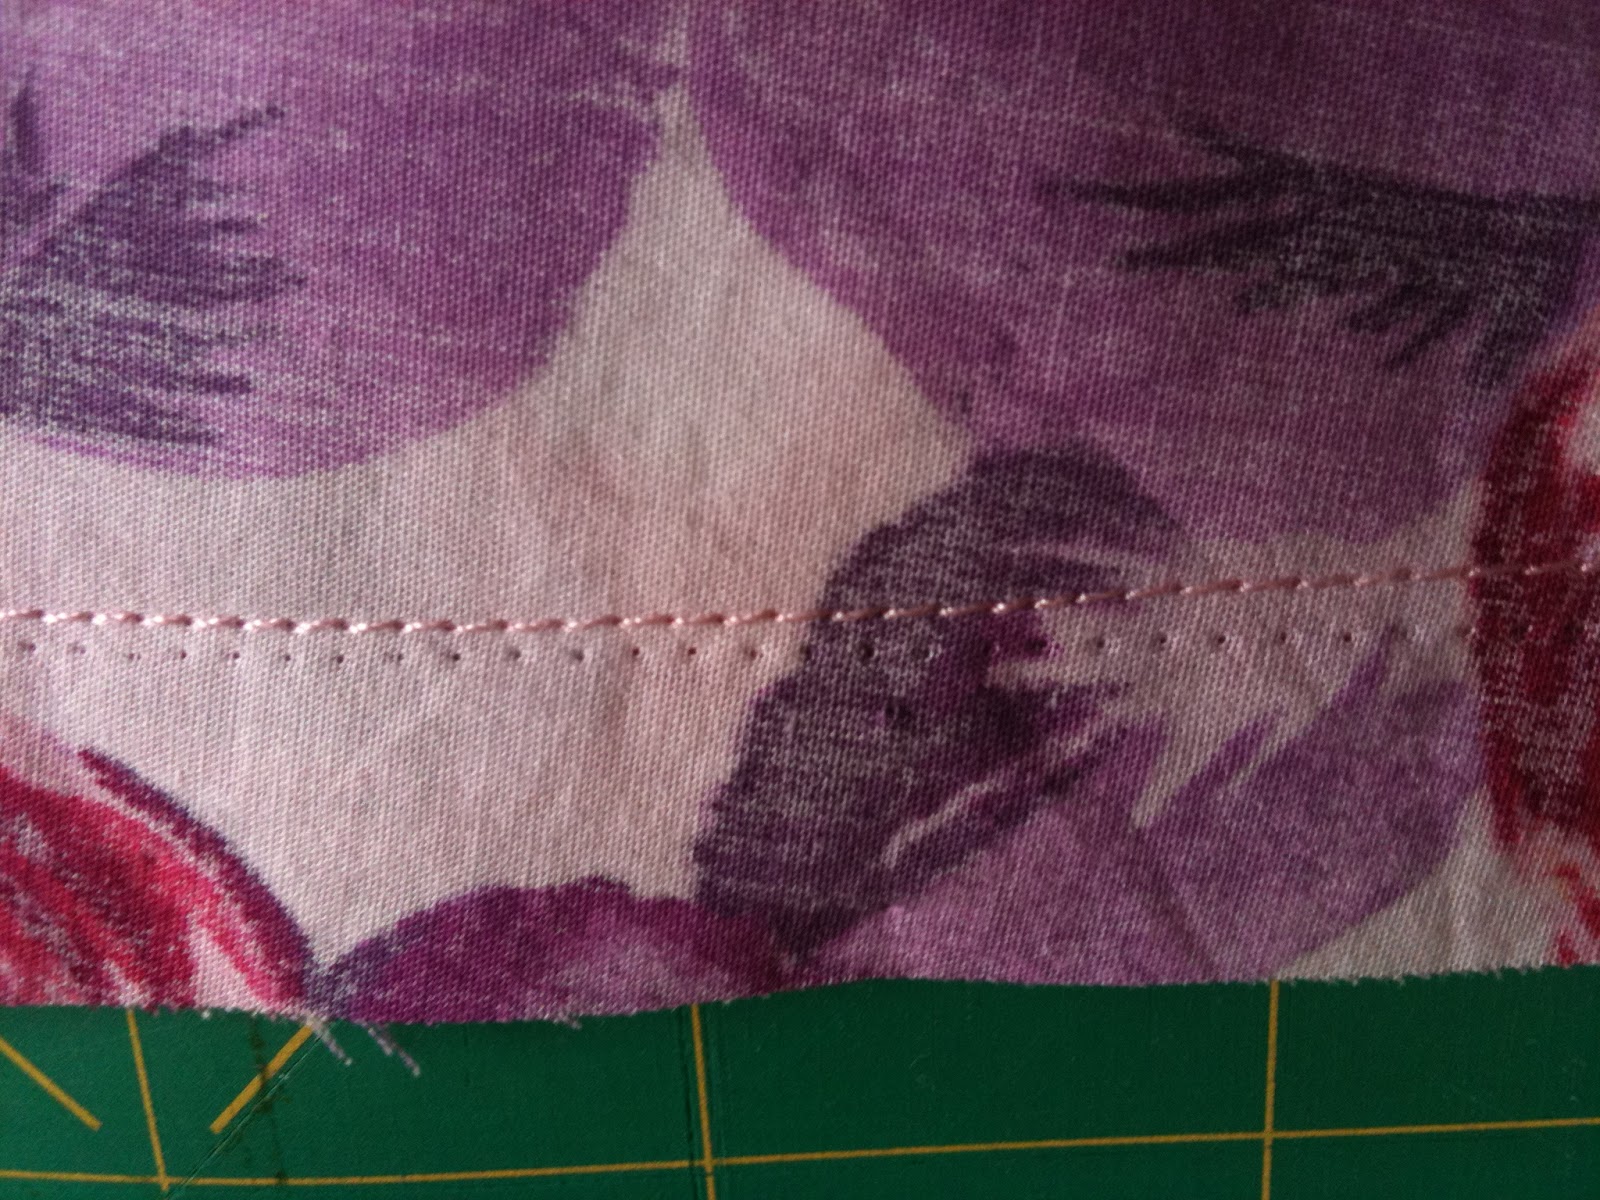
After overcasting the edges. I changed the stitch width but forgot to change the actual stitch, but that was ok because I ended up with this really decorative stitch, which I then kept throughout.
Overall I am really happy with this.
I have never sewn with netting before, It's ok, I can see more flouncy underskirts appearing in my wardrobes.
I have never done gatherring stitches before. For a while I was rather bemused but once the image of pulling up pencil pleat curtains came to mind, I was fine.
Now I can't wait to start the actual dress. I think I am far behind as most are creating bindings now. But I know I am a slow sewer. This underskirt took the best part of 6 hours. Mainly because I no longer think 'that will do' when sewing for myself (which I used to, only when sewing my bags or for others do I make sure its perfect.) The most time consuming for me was the pinning and re-pinning and re-pinning of the gathers to get them 'just so' .
Today I feel I have actually acheived something. It's a good feeling. I hope you all out there are feeling fantasic too.
Sew Vala. x
I was finding it hard to find crinoline so in the end I chose to go with netting in a soft baby pink colour. My dress is mauve/purple so I figured this would complement nicely.
I won't go through all the instruction techniques individually but I will show you my construction pics.
Lots and lots of netting.What I didnt realise was the netting I bought was 44" wide whereas the pattern asked for 54". However luckly this fits just right, any bigger would have been way too much.
The top layer and the main body of the skirt attached.
Gathering the netting using embrodairy floss. It pulled back out really easy.
The lower part waiting to be stiched.
Front view of the finished piece.
And whats even better about this design is, it can also be used as a full underskirt. How cool is that.
After overcasting the edges. I changed the stitch width but forgot to change the actual stitch, but that was ok because I ended up with this really decorative stitch, which I then kept throughout.
Overall I am really happy with this.
I have never sewn with netting before, It's ok, I can see more flouncy underskirts appearing in my wardrobes.
I have never done gatherring stitches before. For a while I was rather bemused but once the image of pulling up pencil pleat curtains came to mind, I was fine.
Now I can't wait to start the actual dress. I think I am far behind as most are creating bindings now. But I know I am a slow sewer. This underskirt took the best part of 6 hours. Mainly because I no longer think 'that will do' when sewing for myself (which I used to, only when sewing my bags or for others do I make sure its perfect.) The most time consuming for me was the pinning and re-pinning and re-pinning of the gathers to get them 'just so' .
Today I feel I have actually acheived something. It's a good feeling. I hope you all out there are feeling fantasic too.
Sew Vala. x
Saturday, September 3, 2011
Twinwood Vintage Festival and Loud Shirt no2
Last week we had a fantasic time at Twinwood
If you have never been I would throughly recomend it. It's a whole bank holiday vintage weekend. Details for next years event can be found here
We only managed the afternoon of the last day, but next year we hope to go for all three days.
There were some amasing outfits from all age ranges. The loud shirt no 2 got it's first outing.
Here is Mr S posing for the camera. I love this fabric, it's very bright purple with the 50's style pin up girls smiling rather sweetly.
Again I used McCalls 2149. This time I discovered I have an overcasting foot. So the only difference I did to this from Loud shirt no1 is I finished all the seams with this foot.
Here is a close up of the girls
Images copyright of FancyMoon. which is where I purchased the fabric they can be found here .
They have a fanstic range of unusal novelity fabric.
I found an absolute treasure of a find at one of the vintage stalls at Twinwood. A new look style black velvet coat with silk lining. And the bonus was it actually fitted me, all over. Length, around the middle, and arm length. I tried it on and fell in love, I even found a hat to perfectly match the look and style. It didn't occur to me to take a picture of it. But it was so damn beautiful. The down side was they did'nt accept cards. Unfortunally I didn't have that kind of money in my back pocket. damn damn and double damn. On the plus side my girls and Mr S all came away with coats
The label inside the coat of Mr S, we guess it may be a de-mob coat ?
The label inside my eldest daughters' coat, the date reads 13/11/55. This is made from lovely but very rough and incredibly heavy dark blue wool coat. She plans to make some alterations so the coat can be worn to a cos-play event and go as Captain Jack Harkness from Dr Who/Torchwood.
My youngest daughter got a long dark blue coat for use a cos-play as Dr Who.
All in all a fabulous time was had by all, can't wait for next year. And if I am incredibly lucky they will still have the velvet coat for sale. Ah well dreamin am I. What's the item you wished you had bought but for what ever reason, never did?
Night all, Sew Vala.
Subscribe to:
Posts (Atom)